Resident Evil 3 Review: A Shorter, Faster Nightmare
Capcom's remake of Resident Evil 3 trades Nemesis's slow dread for a sprint, delivering a tighter, more action-driven nightmare that burns bright but doesn't last long.

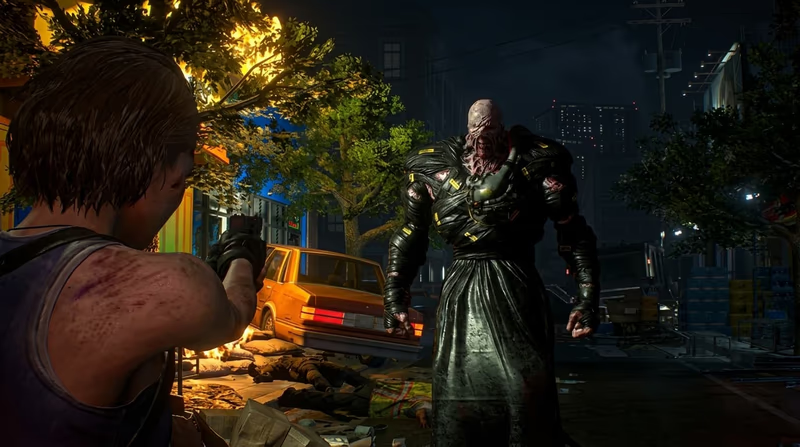
Mastering the perfect dodge early is the single biggest skill jump in Resident Evil 3.

Standard mode is the right call for a first run. It gives you an aim-assist reticle, regenerating resources on restock, and enough ammo drops that experimenting with weapons doesn't mean starving yourself later in the clock tower. Hardcore strips the reticle, tightens item boxes, and makes Nemesis hit noticeably harder, which is a fine second-playthrough target once you already know the layout of the apartment complex and the hospital. Don't start there blind. The achievement for beating Hardcore without using a retry checkpoint is built around knowledge you simply don't have yet on a first run, and burning your first six hours on frustration instead of the story undersells what the campaign is trying to do.
Jill's dodge is the single mechanic that separates a player who's fighting the game from one who's fighting Nemesis. Hold the dodge button and release it the instant an enemy's attack animation commits, not when you first see them move, and Jill slides past the hit in slow motion with a free counter-window. Practice it against regular zombies first since their telegraphed lunges are slower and more forgiving than Nemesis's tentacle swipes. Once the timing clicks, you'll find yourself dodging through hallways instead of clearing them, which saves ammunition you'll need two rooms later. The payoff compounds: a clean dodge chains into melee damage during the slow-motion window, and stacking three or four in a row against a single enemy can drop them without firing a shot.
Gunpowder drops constantly, and hoarding it unconverted is the most common early mistake. Combine it into handgun rounds by default unless you're stocked, since the pistol remains your most reliable weapon for the entire campaign. High-grade gunpowder, the yellow variant, should go almost exclusively into shotgun shells or grenade launcher rounds, both of which hit harder per resource spent than anything the handgun can match. Check item boxes every time you pass one rather than only when your inventory is full. Early exploration of side rooms in the apartment complex and the RPD substation nets coins that the vending-machine Collector dispenses supplies for, and those machines refresh stock as the story progresses, so revisiting one later in the campaign is rarely wasted time.
Nemesis shows up in three distinct forms across the campaign, and each one wants a different response. During his first appearances in Raccoon City's streets, running is almost always correct. He's not meant to be fought there, and wasting shotgun shells trying to drop him early just leaves you under-supplied for the hospital. When a mutation phase forces a real confrontation, prioritize headshots with the magnum or grenade launcher if you've saved ammunition for it, since body shots during these fights barely dent his health pool. Watch for the red glow building on his tentacle arm; that's the tell for his grab attack, and a perfect dodge against it opens one of the longest counter windows in the game. Don't panic-sprint in a straight line either, since his lunge attacks cover ground faster than Jill's run.
Carlos plays like a different character on purpose. He has no dodge mechanic, so don't try to time evasions the way you would with Jill, lean on his assault rifle's full-auto fire and grenade throws instead. The hospital section tasks him with restoring power and locating specific blood samples, and the drug synthesis puzzle there has a fixed correct combination rather than a trial-and-error guess, so read the notes scattered through the nurse's station carefully before mixing anything. Zombies in the hospital spawn in tighter corridors than the open apartment complex, which makes Carlos's grenade launcher attachment worth prioritizing over extra handgun ammo if you're given the choice at a crafting bench.
The shotgun and grenade launcher are worth detouring for the moment you spot them, since both remain relevant through the NEST 2 finale rather than getting outclassed by a late-game upgrade. Weapon parts, the small attachment upgrades hidden in side rooms, should go toward the handgun's reload speed first. You'll use it more than anything else simply because its ammo is the most abundant in the game. Save your Infinite Ammo unlock weapons, earned from clearing the campaign under par time, for repeat runs rather than a first playthrough, since using them from the start removes the resource tension that makes Resident Evil 3's combat loop work in the first place.

Affiliate link: Support the blog via Instant Gaming at no extra cost.
Resident Evil 3
Others Posts
Capcom's remake of Resident Evil 3 trades Nemesis's slow dread for a sprint, delivering a tighter, more action-driven nightmare that burns bright but doesn't last long.
Discover the core story without spoilers, the exact chronological order to play the franchise, and which modern platforms to find them on.

Reevaluating Hideo Kojima's deeply divisive delivery simulator, a game whose themes of isolation, fractured societies, and the desperate need for connection became an eerie reality just months after its original release.

A cold war setting, sleek gunplay, and stunning tech. Was Killzone Shadow Fall a worthy PS4 launch title or a franchise killer?

RoboCop: Rogue City: Teyon's faithful adaptation, Peter Weller's return, the sheer power of the Auto-9, and the gritty streets of Old Detroit.

Valve took the tightest puzzle design in the industry, doubled the toolset, added a co-op campaign and two of gaming's best-written characters, and somehow made the sequel better than the original.

Anno 1800 rebuilds the series around the smoke and steel of the second Industrial Revolution, turning supply-chain logistics into the genre's richest city-building puzzle.
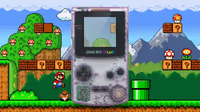
An engineering retrospective on the Nintendo Game Boy Color. We explore how a double-speed Sharp SM83 core, a backward-compatible palette-mapped color LCD, and translucent 'Atomic Purple' shells turned a stopgap handheld into the system that carried Pokémon's second generation.

Analysis of the PlayStation 4 and PS4 Pro hardware. We examine the shared CPU bottleneck, the mirrored butterfly GPU design, memory optimizations, and the hardware-level checkerboard rendering that enabled the 4K transition.
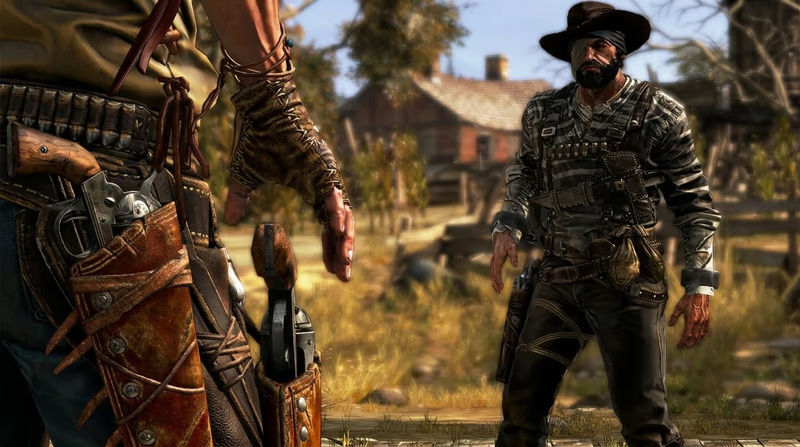
games
Techland traded gritty realism for painterly legend in this arcade-shooter retelling of the Old West's most famous gunslingers, bounty hunters, and outlaws.