Grand Theft Auto: San Andreas Review: Rockstar's Sprawling West Coast Epic
Grand Theft Auto: San Andreas sent CJ across three fictional cities and an entire state, building the biggest, most ambitious open world of the PS2 era.
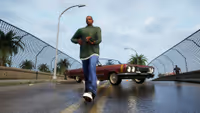
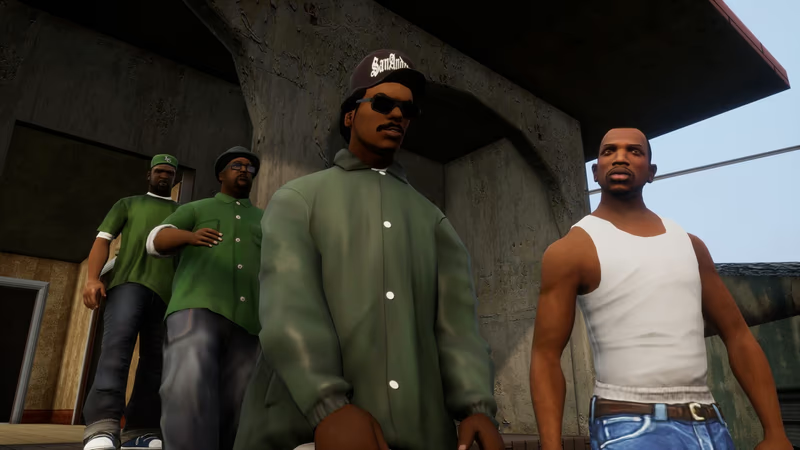
Grand Theft Auto: San Andreas — Rockstar North, 2004

Once the "Doberman" mission opens up Grove Street's own turf war system, the Ballas (purple) and Vagos (yellow) blocks around Los Santos stop being scenery and start being a resource you can take. The trigger is simple to state and easy to botch in practice: walk into enemy territory on foot and kill three rival gang members before they kill you or you duck into a car. Drive-bys don't count toward the kill tally, and running the fight from a vehicle resets your progress the moment a rival clocks you retreating.
Pick your opening block carefully. Territories bordering ground you already control chain together into a single afternoon of expansion, while an isolated block deep in Ballas turf forces a long, exposed drive just to get there.
Killing the third rival doesn't end the fight, it starts the real one. The game drops you into a defense sequence of three waves of reinforcements, four on the larger territories, each wave tougher than the last. Early waves send in five to eight gang members carrying pistols and sawed-offs, the final wave adds SMGs, assault rifles, and the occasional molotov toss from a rooftop.
The clock matters less than positioning. A clean takeover on a small block runs five to ten minutes, but a sloppy one dragged out by bad cover choices burns through ammo and health you'll want for the next block.
Bring more gun than you think you need. A Desert Eagle clears the opening wave fine, but the AK-47 is the backbone weapon for this entire system, enough stopping power to drop rushers in two or three hits, enough ammo capacity to not run dry mid-wave.
Skip the pistol-only approach some players lean on for the early game. It works on the first couple of blocks and then gets you killed the moment Ballas reinforcements start carrying rifles.
San Andreas never designed its turf wars as open killboxes, there's almost always a wall, a car, or a doorway nearby worth using. Post up against a solid object with your back covered, and let reinforcements funnel toward you through a chokepoint rather than chasing them into the open where a flanker can take you from behind.
Running and gunning works on the first territory or two. By Ballas-heavy East Los Santos, standing still behind cover is the difference between a two-minute win and a repeated hospital trip.
CJ doesn't have to clear every wave alone. Whistle up nearby Grove Street members with the "recruit" command and they'll follow you into the fight, soaking hits and adding extra guns to the firefight. Respect earned from completed takeovers raises your maximum squad size, so the gang war grind and the recruitment system feed each other directly.
A full squad trivializes the early Ballas blocks. It's still worth clearing a handful of territories solo first, since that's where the actual skill of reading waves and managing cover gets built.
Every successful takeover does two things at once: it raises CJ's Respect stat and it adds that block to Grove Street's earning footprint. Income from controlled territory collects automatically at the Johnson House on Grove Street, and the payout scales with how much of the map is painted green. A handful of nearby blocks barely registers, a sprawling, fully-held Los Santos turns the safehouse into a steady cash faucet you can swing by between missions.
Treat this as supplementary cash flow for buying weapons and body armor between turf grabs, not a replacement for the bigger paydays the heist and casino missions eventually unlock.
Painting all of Los Santos green is a realistic end-state for a committed afternoon, not a multi-day grind. Work outward from Grove Street in a ring, clearing adjacent blocks before jumping to isolated pockets, and the Ballas presence across East Los Santos collapses block by block. Vagos territory tends to cluster further out, so expect more driving between fights once the central city is secured.
Full green on the Los Santos map is one of the most satisfying non-mission achievements in the entire game, visible proof that CJ turned a scattered, disrespected crew back into the power Grove Street used to be.

Affiliate link: Support the blog via Instant Gaming at no extra cost.
Grand Theft Auto: San Andreas
Others Posts
Grand Theft Auto: San Andreas sent CJ across three fictional cities and an entire state, building the biggest, most ambitious open world of the PS2 era.
A complete main-story walkthrough for Grand Theft Auto: San Andreas, covering every mission from Grove Street to Las Venturas with strategies for the game's toughest story beats.
A complete checklist for reaching 100% completion in Grand Theft Auto: San Andreas, covering every collectible, vehicle mission, driving school, and asset you need to lock down.
Grand Theft Auto IV: The Complete Edition bundles Niko Bellic's original story with both Episodes from Liberty City DLCs, and still holds up as one of the most atmospheric open worlds Rockstar ever built.

A practical beginner's guide to Grand Theft Auto IV: The Complete Edition, covering early money-making, which weapons and vehicles to prioritize, and how to approach the bundled Episodes from Liberty City content.
Valve took the tightest puzzle design in the industry, doubled the toolset, added a co-op campaign and two of gaming's best-written characters, and somehow made the sequel better than the original.
Anno 1800 rebuilds the series around the smoke and steel of the second Industrial Revolution, turning supply-chain logistics into the genre's richest city-building puzzle.
An engineering retrospective on the Nintendo Game Boy Color. We explore how a double-speed Sharp SM83 core, a backward-compatible palette-mapped color LCD, and translucent 'Atomic Purple' shells turned a stopgap handheld into the system that carried Pokémon's second generation.

Analysis of the PlayStation 4 and PS4 Pro hardware. We examine the shared CPU bottleneck, the mirrored butterfly GPU design, memory optimizations, and the hardware-level checkerboard rendering that enabled the 4K transition.
games
Techland traded gritty realism for painterly legend in this arcade-shooter retelling of the Old West's most famous gunslingers, bounty hunters, and outlaws.